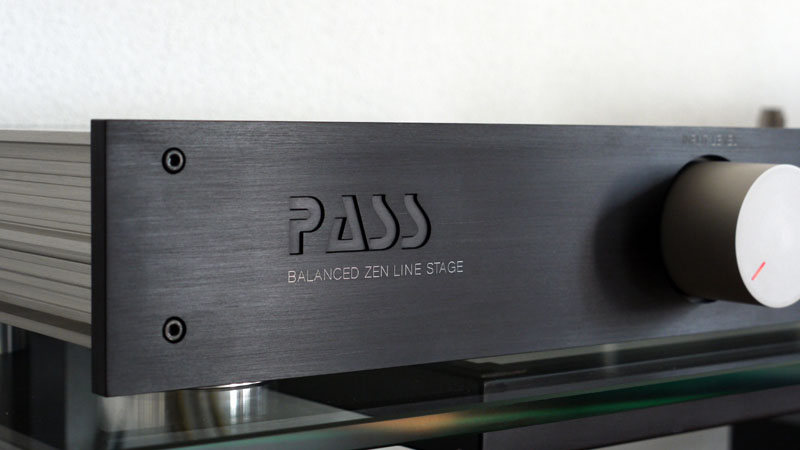
Balanced Zen Line Stage
About me
The name Nelson Pass I knew since I read about Threshold Amplifiers in the late eighties and very often his name appeared in magazines with reports about the gorgeous Aleph series amps and preamps. All dream stuff for me -of course-, but far out of reach. I had done some DIY audio work before and built most of my equipment. But it was not before 2009 when I discovered the Pass DIY website. I was truly amazed seeing THAT man supporting DIYers! Lots of articles and schematics on the website! My interest was fully fired up again. After intense reading I quickly decided to first build the Balanced Zen line stage. I am an engraver and electronics are quite far off my profession. At my workplace in a technical school I have access to some nice and very helpful machines.
Layout considerations
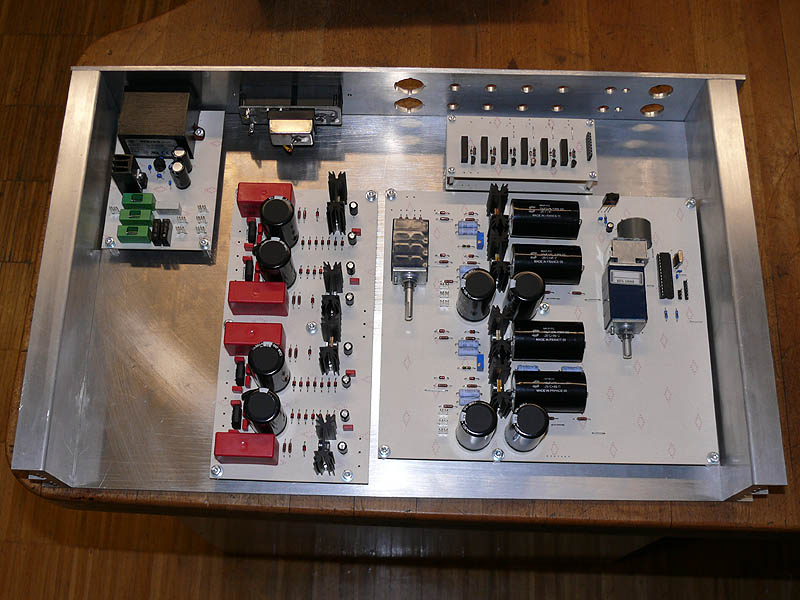
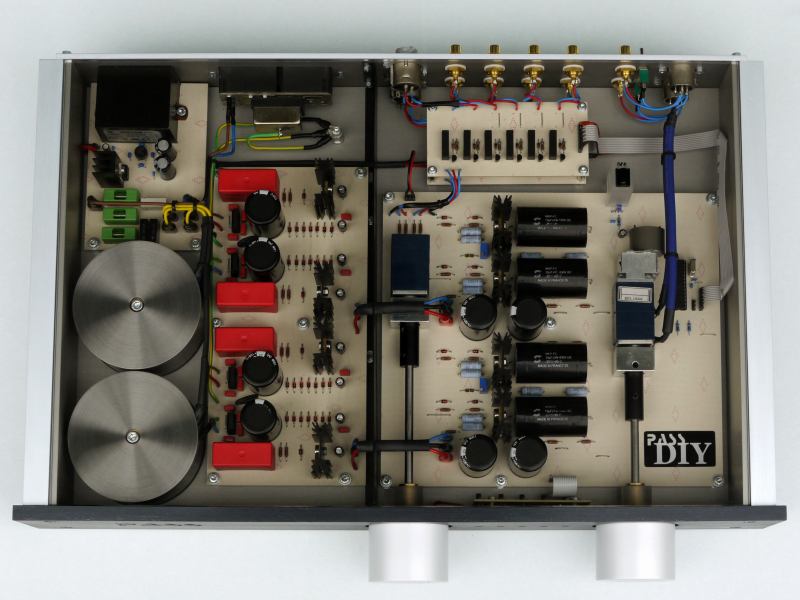
I wanted to build my Balanced Zen Line Stage as a real dual-monaural version with two power supplies. Reducing the amount of internal wiring in order create a component that is esthetically pleasing was on my wish list too. Thus I needed to redesign the circuit boards.
For IR remote level control I found a simple schematic consisting of an ATMEL Mega 8 microcontroller that drives a motorized Alps–potentiometer. This circuit also offers signals for switching the reed input relays. That seemed to be a perfect solution and elegantly solved the problem with the selector switch. I needed to make a LED indicator circuit board for the front panel that tells which input is selected at the moment. An additional 5V power supply was needed for operating the microcontroller, the relay- and LED indicator board. At first this project looked easy, but it became much more demanding and difficult.
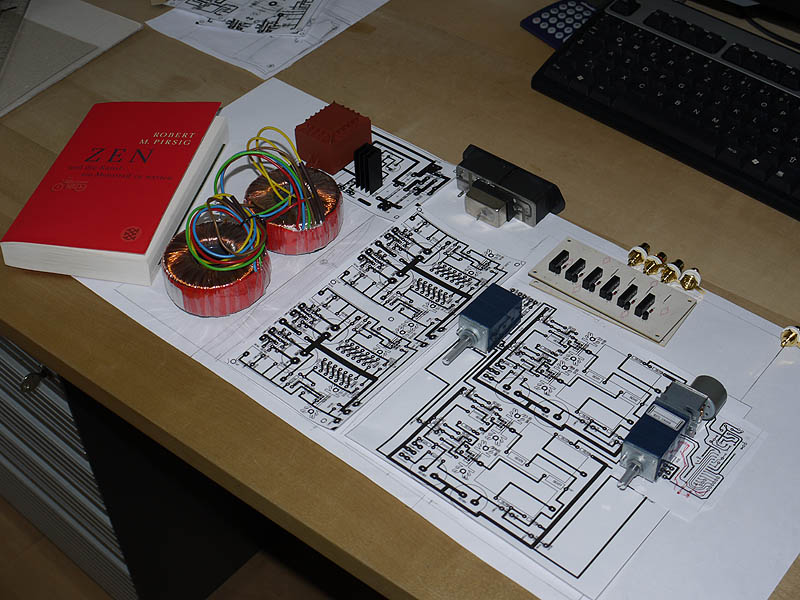
Construction
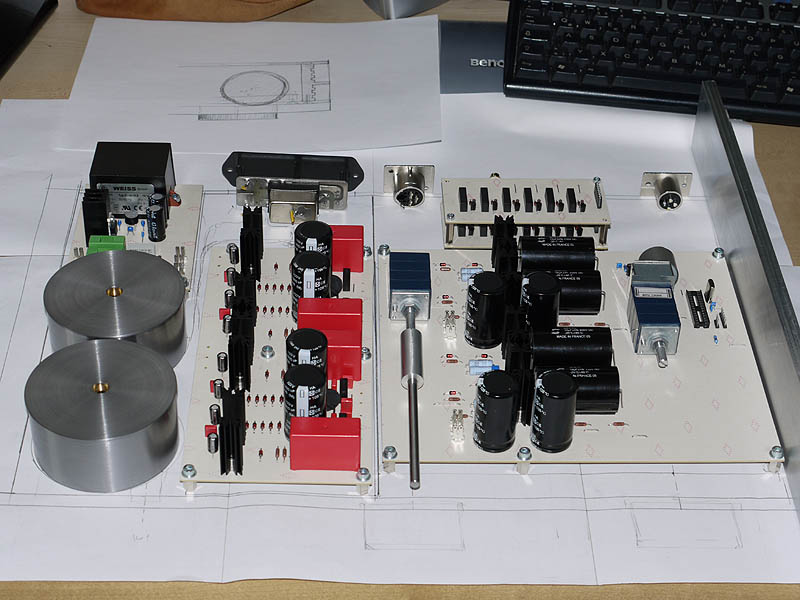
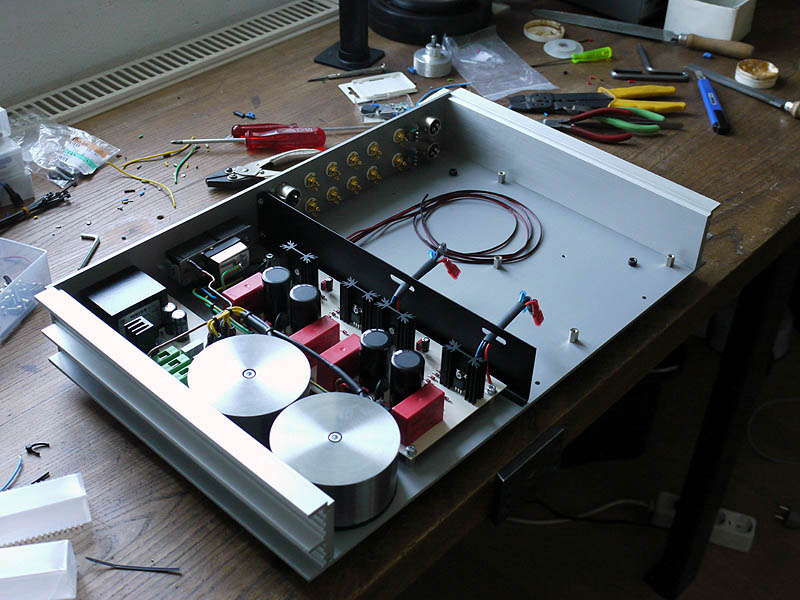
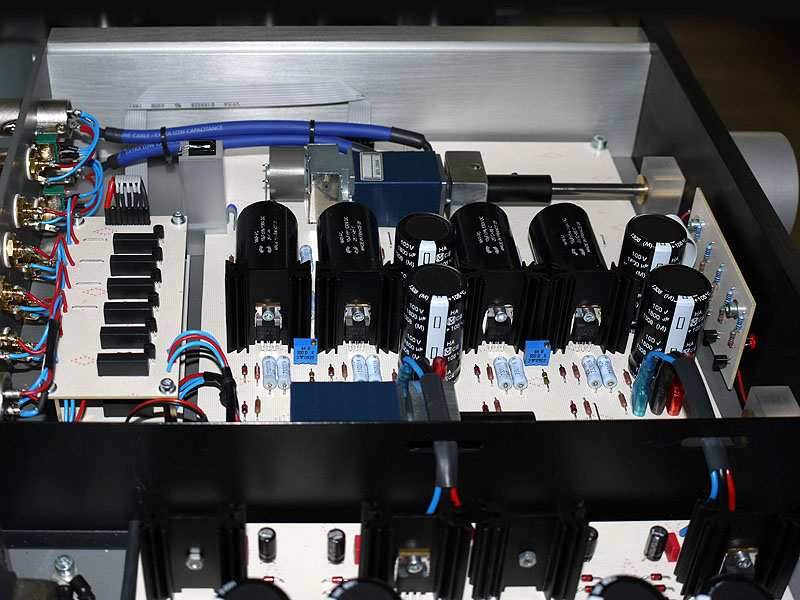
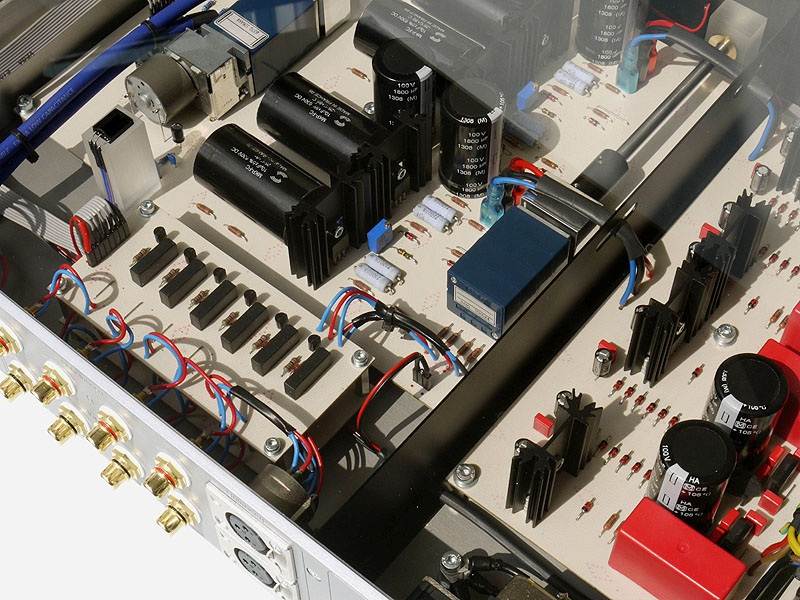
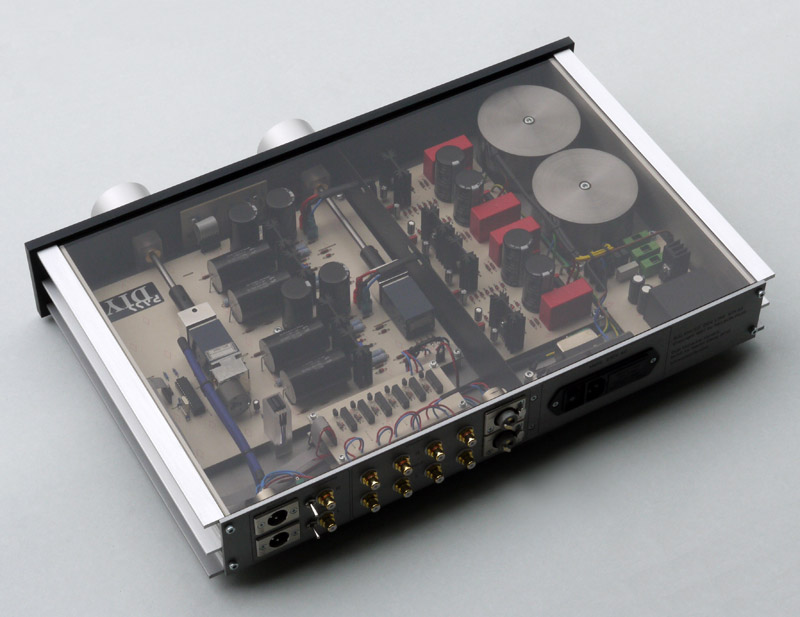
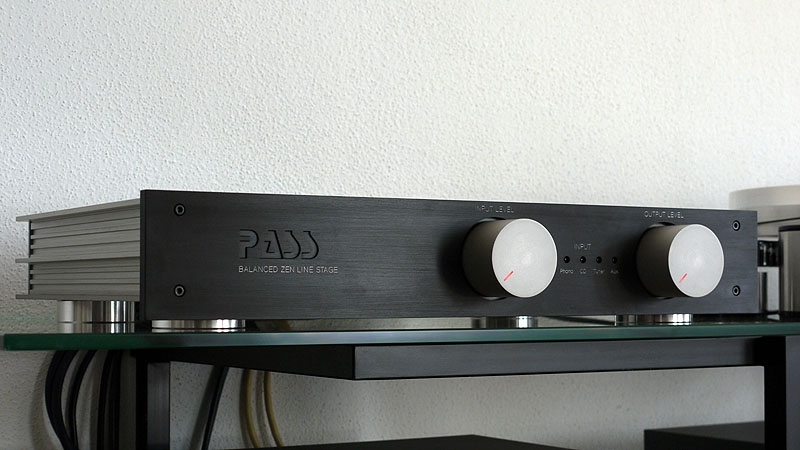
As I had no experience in drawing circuit boards I did the small ones first. Now I know that it would have been wise to finish all at once or start with the larger ones. The internal layout of any unit could greatly benefit from working in such a manner. I was not very keen about a tight package and have unskillfully wasted some space on the large board. Thus my preamplifier became a big unit. It is approx. 20 inches wide. I milled the circuit boards with a CNC-engraving machine. Access to all the necessary machinery made construction of the enclosure easy. The power supplies are separated from the input and gain stages by a vertical steel sheet. Better looks and EMI shielding was the reason to make housings for the laminated and toroidal transformers.
The potentiometers are onboard. This solution offers short signal paths but otherwise causes an unexpected load of work. It implied fabricating additional parts like axis, coupling and bearing bushes etc. After anodizing I engraved the front and rear plates of the case. Screwing things together and wiring was pure pleasure.
Operation
It was hard to believe how good this circuit sounds, despite of its simplicity. I am very pleased with the sonic qualities and superb channel separation. This preamp gets very hot and I need to lift the glass cover during use. It is quite flexible in use, as the gain can be set internally. Aside from the volume control there is a potentiometer for setting the input signal level. In my setup, I almost always use the balanced signal of an external DAC. My F5 power amplifiers need an unbalanced signal, so the Balanced Zen Line Stage acts as balanced to unbalanced converter. But of course it offers balanced outputs too.
Conclusion
It is a big effort and it is time consuming, but it is a very satisfying and an absolutely rewarding experience to construct and own such a preamp. I strongly encourage prospective builders to give one or more of these great Pass DIY projects a try! I am thankful to Nelson Pass for his strong and generous support of the DIY community! Making his outstanding designs publicly available brings much pleasure to the people who build their own audio equipment.
Best wishes from Austria,
Martin Strolz