Balanced Zen Line Stage
About me
My name is Kristijan Kljucaric and I come from Croatia.
First of all I would like to thank Mr. Pass for supporting DIY audio society with a great effort and also with some excellent projects. In past years I have built several projects of Mr. Pass on experimental basis only, and I was very pleased with simplicity and with final results.
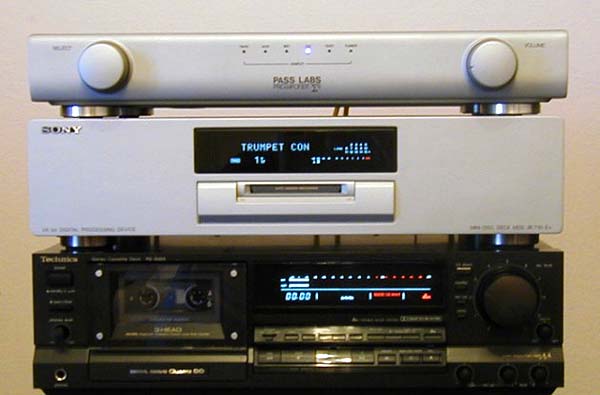
Finally, I needed to build a preamplifier with balanced outputs and choice was more than clear - The Balanced Line Stage of Nelson Pass.
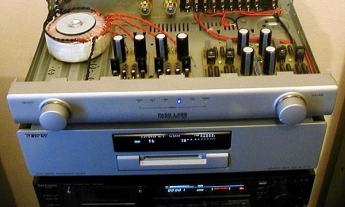
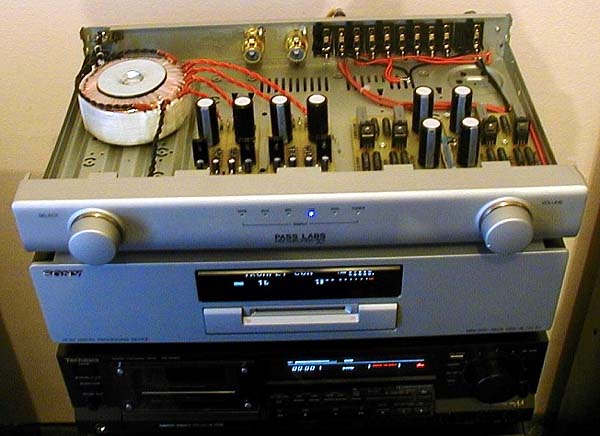
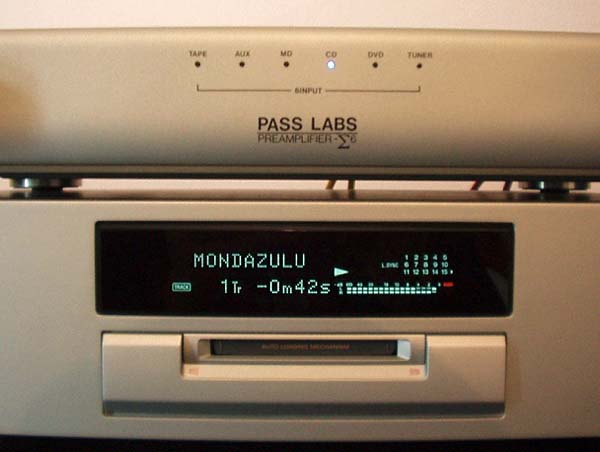
I started with enclosure. I brought Technics SU-C1000 preamplifier and remove all electronics. After that I removed all buttons, central Ni-Cd batteries, LED's, pots, power switch ...only source LED's (I replaced old ones with high intensity blue LED's), volume and selector pots are left. The remaining holes was filled with epoxy filler, than I painted whole chasis with silver eloxal paint and applied Letters C for labeling the source LED's, selectors, and back-plate with connectors.
Then all together was sprayed with several layers of matte transparent varnish and enclosure was finished. The final look is superb and there is no way to tell that is hand-made (modified).
Also that was the most time consuming part of whole project, in fact the whole project is all mechanical - painting work and almost no electronics!
After the chassis was finished I have downloaded BLS .pdf file from passdiy.com, brought all the parts and started working on separate PCBs for power supply, and for L and R channel ( if somebody needs PCBs for this project and also for some of Aleph series amplifiers, you can contact me at: http://web.vip.hr/pcb-design.vip ).
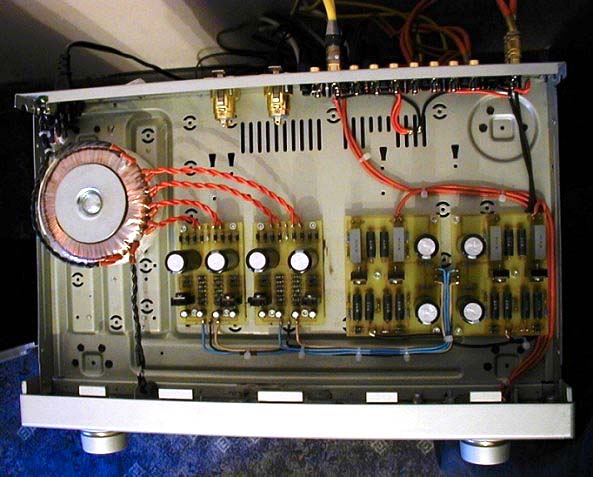
The only changes I did on my BLS is the increasement of power supply capacitors and power rating of transformer and everything else is left like Mr.Pass suggested.
I replaced 1000 uF capacitors in power supply with 2200 uF. Transformer is Toroid 4x60V / 100 VA custom made for me by local manufacturer and the rest parts are also from local shop. I used 10uF/63 V film capacitors and 750R/6W resistors from: http://www.rs-components.com
The gain and power supply devices run quite hot when operate so they are cooled with small aluminum heatsinks.
750R/6W resistors also run hot, even when they are rated at 6W and there is only 1mm space between them and the PCB.
My advice to potential builders of this preamp is that 750R resistors needs a little more distance from PCB.
Then whole project come to the end, and the test day arrived. The preamplifier worked perfectly since I first time turned it on and with no any adjustments at all.
I was very pleased with S/N ratio of the circuit, even with unbalanced operation, there is no any kind of hum or stuff like that, even when the volume pot is on maximum and sensitivity of my speakers is 101 dB/Watt.
The sound is very clear and there is also more detail then with Technics SU-C1000. This project is a living proof that you can enjoy excellent sound quality without scarifying a large amount of money.
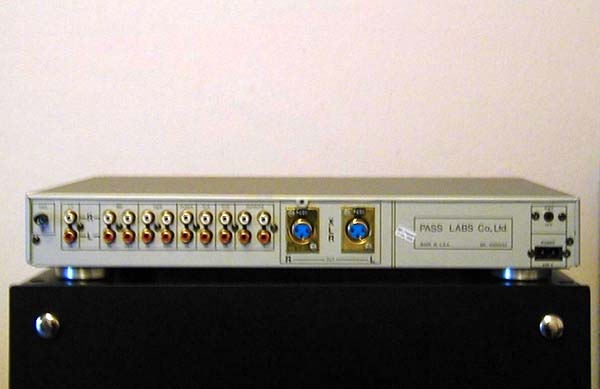
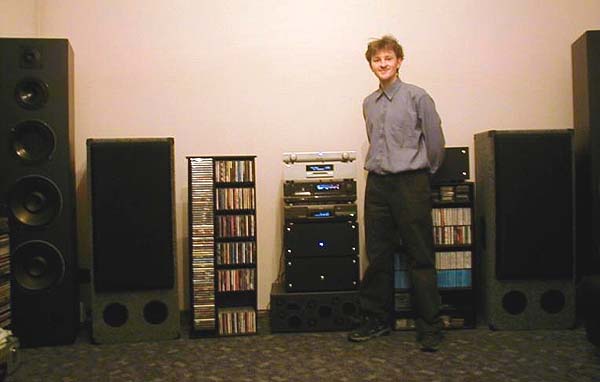
In short, this was the way of building my Balanced Line Stage and the rest you can see on the enclosed pictures. There is also more pictures that can be found at: http://web.vip.hr/pcb-design.vip/gallery .
And at the end, once again thanks to Mr. Pass (Einstein of solid-state audio) for really great design and also for more that will come.
With best regards from Croatia:
Kristijan Kljucaric